
How to Record Vocals At Home: A Complete Beginners Guide to DIY music production.
You've been dreaming of recording your own vocals, but every time you hit record, something feels off. Maybe your voice sounds thin, distant, or just... amateur. Here's the thing – you don't need a fancy studio or thousands of dollars in equipment to capture professional-sounding vocals at home. You just need to understand the fundamentals and execute them consistently.
The truth is, some of today's biggest hits were recorded in bedrooms, basements, and home studios. What separates pro-quality recordings from amateur ones isn't the price tag on the equipment – it's knowledge, preparation, and attention to detail.
Let's dive into everything you need to know to transform your home recordings from "good enough" to genuinely impressive.
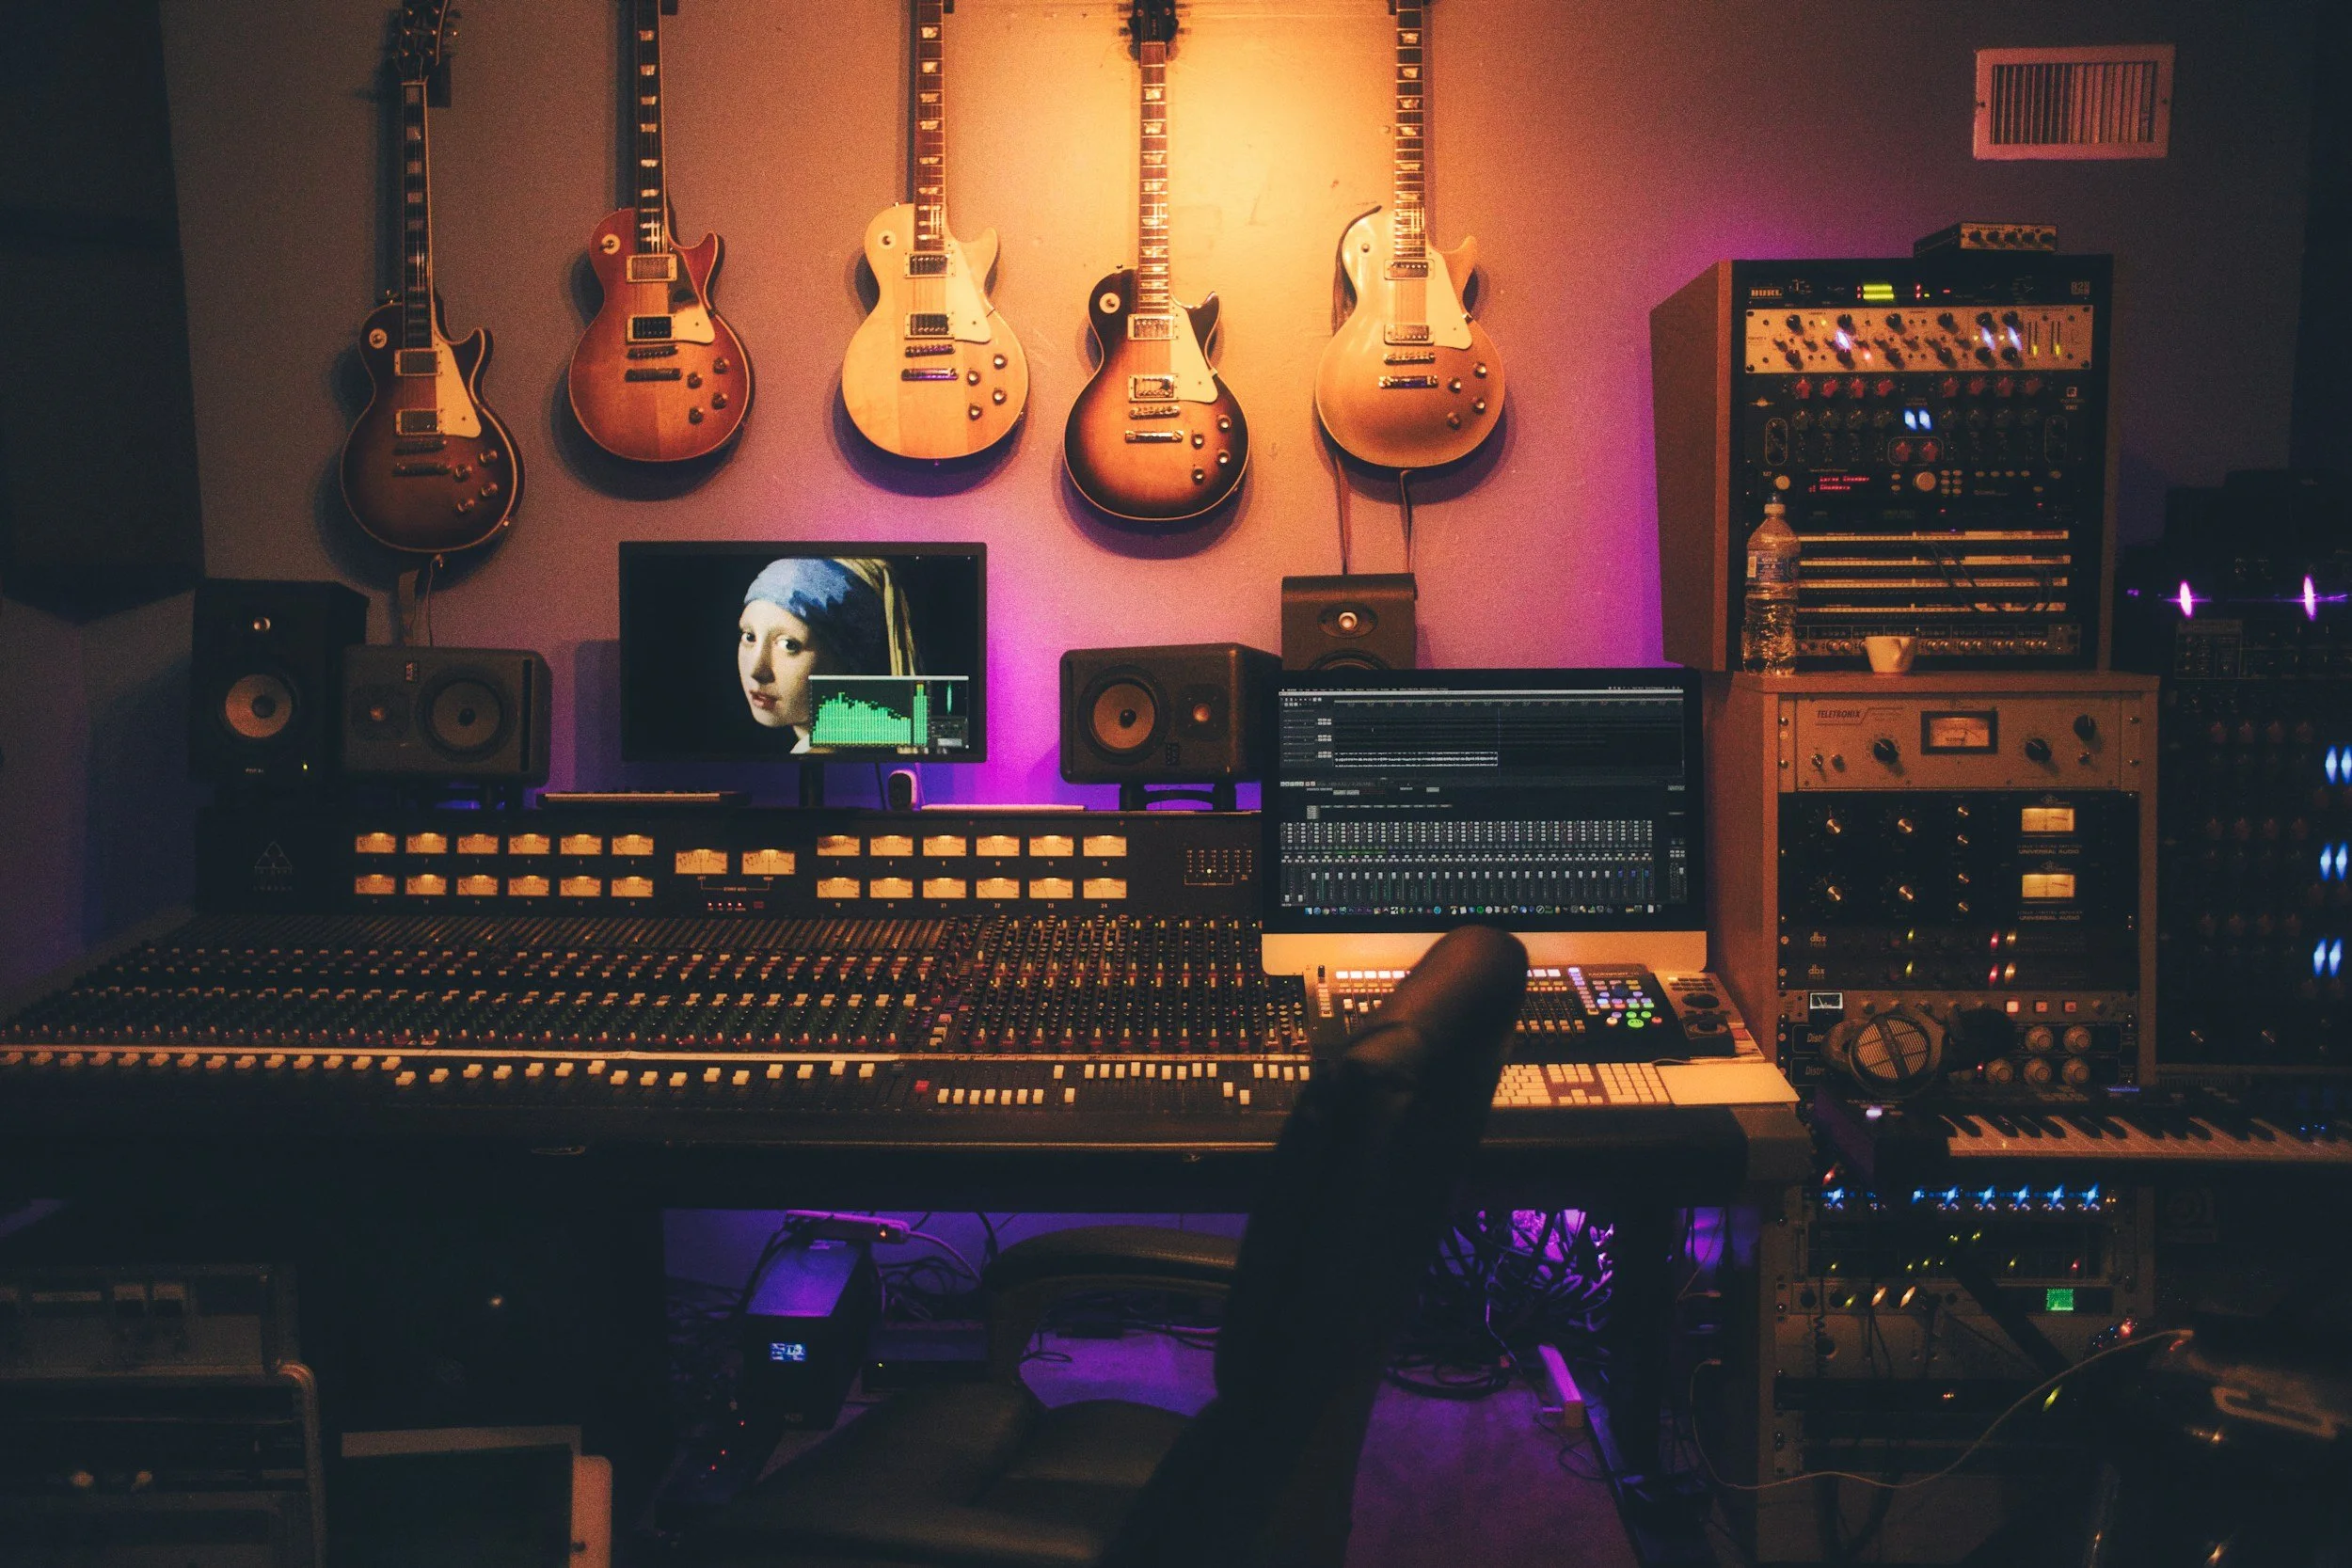
The Essential Equipment You Actually Need
Start with Your Microphone – Your Most Important Investment
Your microphone is the foundation of everything. You can have the most expensive software in the world, but if your mic isn't capturing your voice properly, nothing else matters.
Condenser microphones are your best friend for vocal recording. They're more sensitive than dynamic mics and excel at capturing the subtle details and nuances in your voice. Look for one with a large diaphragm – it'll give you better overall tonal balance and that warm, professional sound you're after.
You don't need to break the bank here. A quality condenser mic in the $100-300 range will serve you incredibly well as you're starting out.
Audio Interface: Your Digital Gateway
Think of your audio interface as the translator between your analog voice and your digital recording setup. It converts your microphone's signal into data your computer can work with.
For beginners, something like the Focusrite Scarlett 2i2 is perfect – it's reliable, sounds great, and includes helpful features like an "air" function that adds clarity to your recordings. Two input channels give you room to grow without overwhelming you with options you don't need yet.
Digital Audio Workstation (DAW): Your Creative Command Center
This is your recording software – where all the magic happens. Popular choices include Logic Pro, Pro Tools, Ableton Live, or Reaper. Here's the secret: any modern DAW can produce professional results. Choose based on your budget and which interface feels most intuitive to you.
The Supporting Cast
Round out your setup with:
Quality headphones for monitoring your recordings
A pop filter to tame those harsh P's and B's
Basic acoustic treatment (more on this below)
A computer with enough processing power to handle real-time recording

Creating Your Recording Environment
Your Room is Your Secret Weapon
Here's something many beginners overlook: the room you record in is just as important as your microphone. You could have the most expensive mic in the world, but if you're recording in a bathroom with hard tile surfaces, it's going to sound like... well, a bathroom.
Walk around your home and do the clap test. Clap your hands sharply in different rooms and listen. You want minimal echo and reflection bouncing back at you. That spare bedroom with carpet, curtains, and a closet full of clothes? That might be your golden ticket.
DIY Acoustic Treatment That Actually Works
You don't need professional acoustic panels to get great results. Soft materials are your friend. Hang thick blankets on walls, position bookshelves strategically, or even record in your closet surrounded by clothes. The goal is to minimize those hard surfaces that create unwanted reflections.
Think of it this way: every surface in your room is either helping or hurting your recording. Make as many as possible work in your favor.
Setting Up for Success
Getting Your Gear Connected
Start by installing your audio interface's drivers – this is crucial for your computer to recognize and communicate with your equipment properly. Connect everything in this order: interface to computer, microphone to interface, headphones to interface.
Open your DAW and create a new project. Add an audio track and set its input to receive signal from your interface's first channel. When you speak into your mic, you should see the level meters responding. If not, double-check your connections and settings.
The Art of Microphone Placement
Position your microphone 6-12 inches from your mouth as your starting point. This distance is the sweet spot – close enough to capture intimate detail, far enough to avoid overwhelming plosive sounds.
Here's a pro tip: consistency is key. Once you find a position that works, mark it somehow. Use tape on the floor, adjust your music stand to the same height, whatever it takes. You want to be able to recreate that exact setup for every recording session.
Mastering Your Recording Levels
The Goldilocks Zone of Gain
This is where many home recordings go wrong. Your recording level should peak between -6dB and -10dB on your DAW's meters. Think of this as your target zone – loud enough to capture detail, quiet enough to avoid distortion.
Here's how to dial it in: turn up your interface's microphone preamp while singing at your loudest performance level. Watch those meters like a hawk. If they hit red, you're clipping (creating distortion) – turn the gain down. If you're barely seeing any signal, turn it up.
You might need different gain settings for different sections of your song. That powerful chorus will likely need less gain than your gentle verse. This attention to detail separates amateur from professional results.
The Recording Process
Preparation is Performance
Before you hit record, set up your headphone mix so you can hear yourself clearly along with any backing track. Some singers like a bit of reverb in their headphones for inspiration – experiment and find what helps your performance.
Name your track before recording. Your DAW will automatically name each take, and trust me, "Audio 01, Audio 02, Audio 03" gets confusing fast when you're working with multiple takes.
Capturing Multiple Takes
Here's the secret professional vocalists know: record multiple takes. Even if your first take feels perfect, record at least 2-3 more. You'll thank yourself during editing when you have options to choose from.
Don't stop recording if you make a mistake mid-take. Complete the full song, then start fresh on a new take. This keeps your energy and performance momentum flowing naturally.
Post-Recording Magic
The Power of Vocal Layering
Once you have your main lead vocal, it's time to add depth and richness through layering. Record additional vocal takes and pan them in your stereo field – one doubled vocal panned hard left, another hard right, with your lead vocal centered.
This panning is crucial. Without it, layered vocals often sound thin or weird. With proper panning, they create a rich, professional vocal texture that fills out your mix beautifully.
Comping: Creating Your Perfect Vocal
Comping means selecting the best parts from different takes to create one perfect composite performance. Your DAW likely has take lanes that make this process intuitive.
Listen through each take and mark the sections that shine. Maybe take one has the perfect verse, but take three nailed that challenging chorus run. Combine the best of each take into one stellar performance.

Editing for Polish
Remove silent sections between phrases to eliminate background noise. Add small crossfades at the beginning and end of each audio region – these prevent pops and clicks where audio regions connect.
Remember this golden rule from legendary producer Roy Thomas Baker: "It doesn't have to be in tune, but it must be in time." Focus on getting excellent timing and performance. A great performance with perfect timing will always trump a mediocre one with perfect pitch.
Final Touches and Beyond
If you need pitch correction, apply it after your editing is complete. Tools like Auto-Tune, Flex Pitch, or your DAW's built-in pitch correction can fix minor tuning issues while maintaining natural sound.
But here's the most important thing to remember: your performance is everything. All the equipment and techniques in the world can't replace genuine emotion, clear diction, and confident delivery.
Your Next Steps
You now have the roadmap to recording professional-quality vocals at home. The difference between dreaming about great recordings and actually making them is taking action. Start with the equipment basics, set up your space thoughtfully, and most importantly – start recording.
Don't wait for the "perfect" setup. Some of your best recordings might happen with your current equipment once you apply these techniques. Every professional started exactly where you are now.
Ready to take your vocal skills to the next level? Our comprehensive singing programs can help you develop the confidence and technique that great home recordings demand. Because at the end of the day, the best recording setup in the world is only as good as the voice behind the microphone.
Your voice deserves to be heard clearly, powerfully, and professionally. Now you have the tools to make that happen.